Melted cheese, garlic, warm, toasty bread...sounds like something wonderful to me! This cheesy garlic casserole-type dish is prefect thing to serve with spaghetti, lasagna, or to eat all by itself with a side of pizza sauce. The crunchy, seasoned bread supplemented with soft mozzarella cheese is perfect in all ways.
I made this recipe up for lunch with some leftovers I had on hand. I used Wal-Mart sub buns for my bread, but feel free to substitute French bread or other white bread if you don't have these buns on hand.

I used nine Wal-Mart sub buns (approx. 4x2 each)

Butter your buns, and sprinkle them with garlic salt.

Cut your buns into cubes; you should get about sixteen cubes out of each full bun by putting two halves together and cutting them in half and then into quarters.

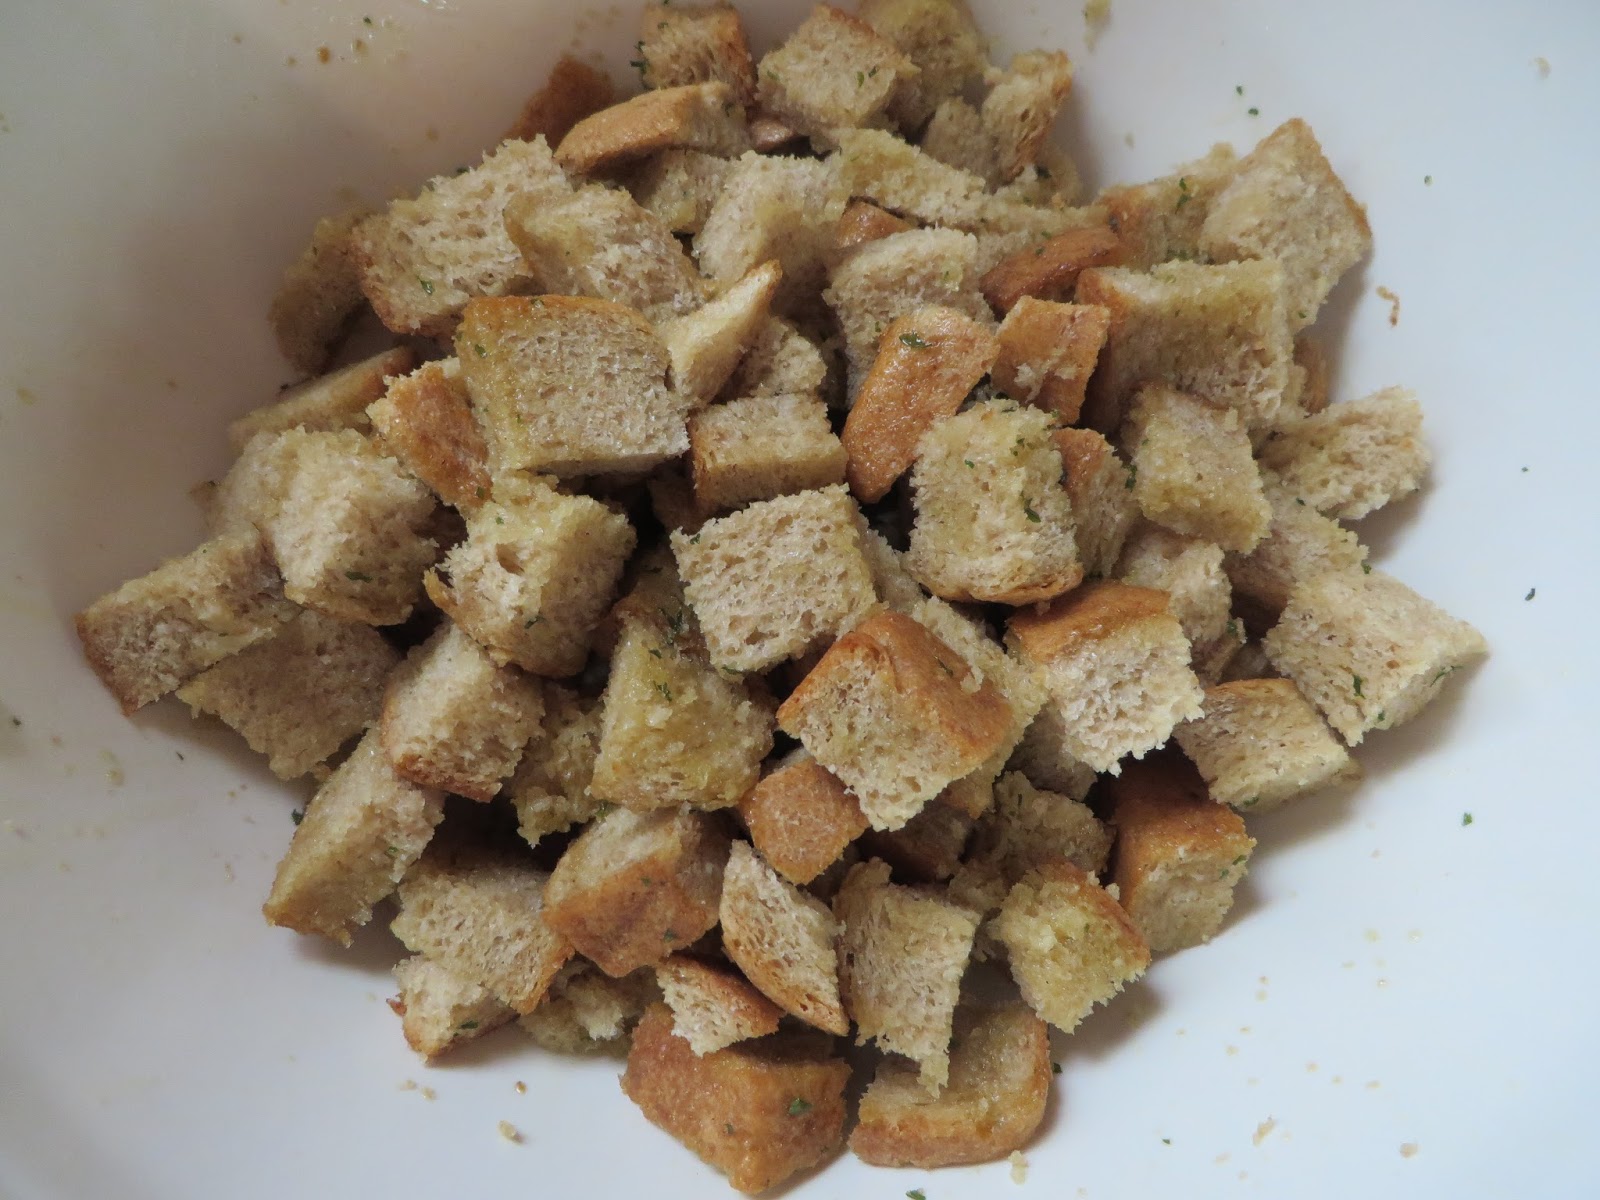
Place the bread cubes in a large bowl and toss the cubes and the cheese together. Dump the bowl's contents into the pan and spread the cubes evenly.

Cover the pan with albumin foil and place the pan in the oven for ten minutes. Remove the foil and baking for another five minutes, or until the top is getting golden brown.
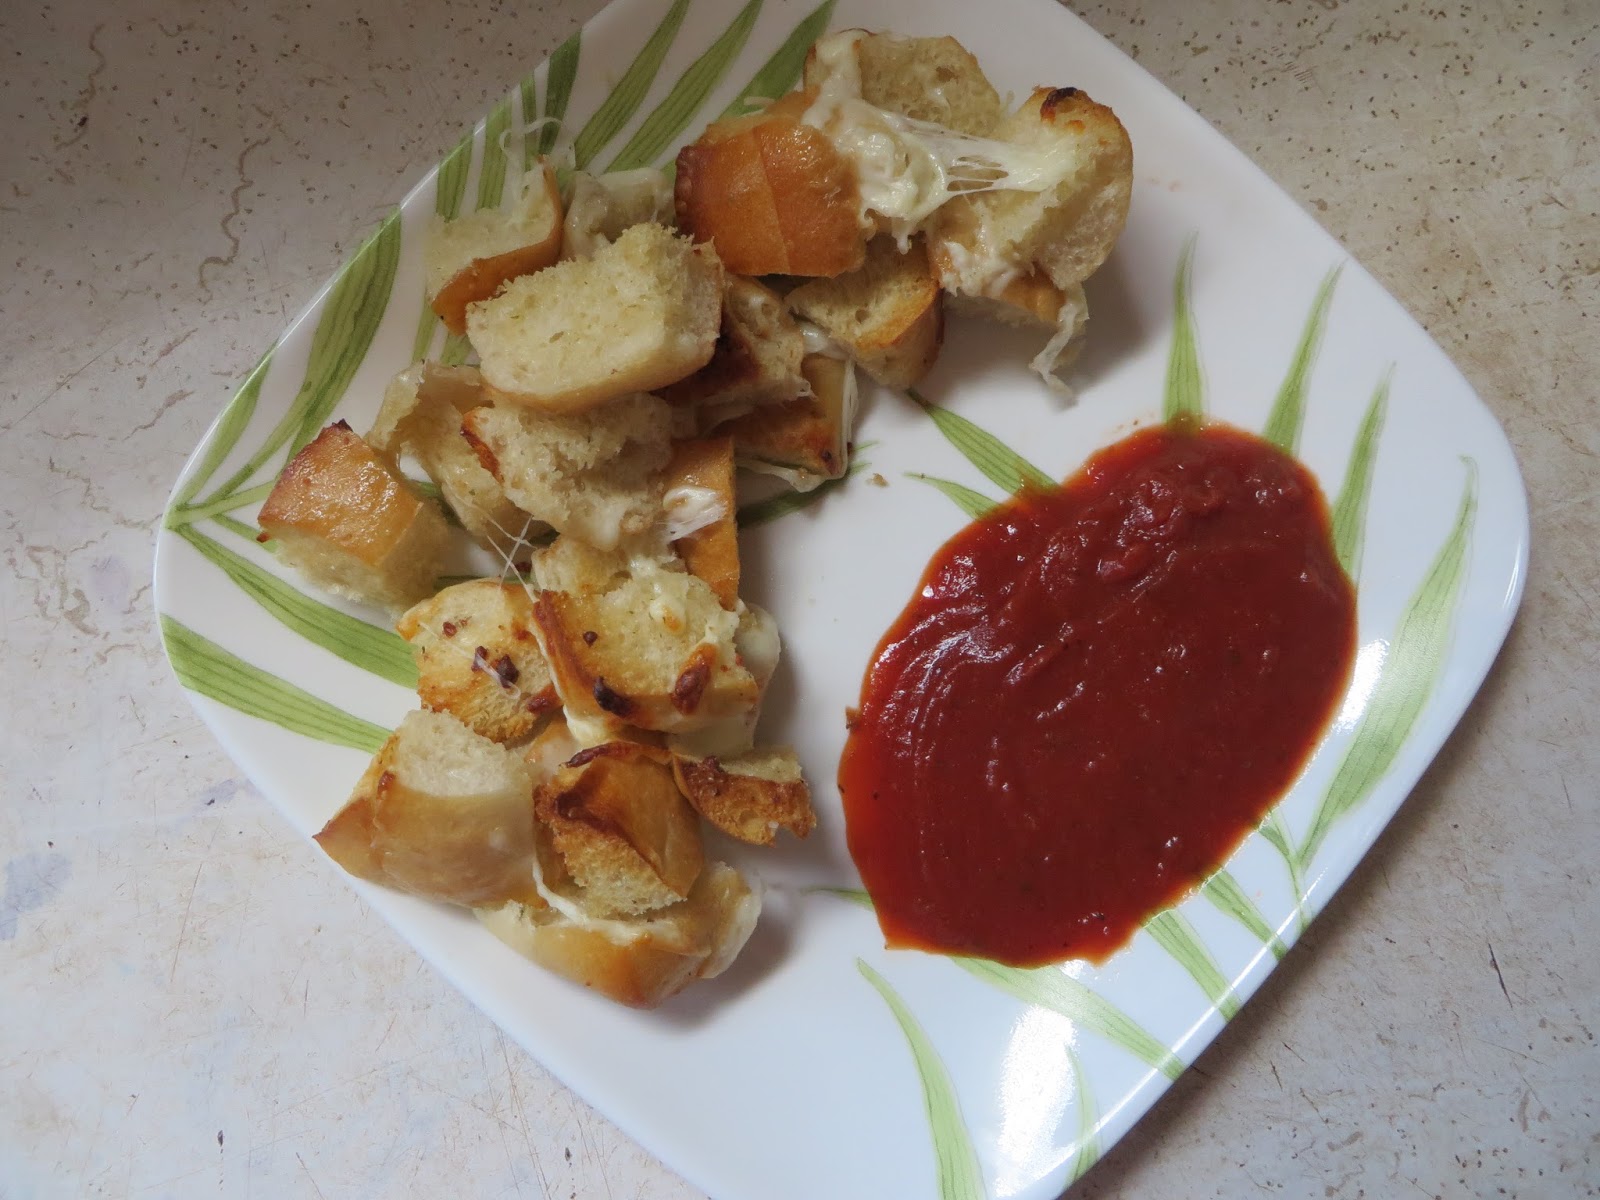
Serve hot with a dish of heated pizza sauce.
Yields 8 servings
Ingredients:
9 Wal-Mart sub buns (approx. 4x2 each)
Softened butter
Garlic Salt
3 1/2 C. grated mozzarella cheese
Preheat your oven to 450 degrees and grease a 9x13 pan. Set aside.
Butter your buns, and sprinkle them with garlic salt. Cut your buns into cubes; you should get about sixteen cubes out of each full bun by putting two halves together and cutting them in half and then into quarters. Place the bread cubes in a large bowl and toss the cubes and the cheese together. Dump the bowl's contents into the pan and spread the cubes evenly.
Cover the pan with albumin foil and place the pan in the oven for ten minutes. Remove the foil and baking for another five minutes, or until the top is golden brown. Serve hot with a dish of heated pizza sauce.