Monday, June 15, 2015

Cheesy Garlic Bread In-A-Pan

Melted cheese, garlic, warm, toasty bread...sounds like something wonderful to me! This cheesy garlic casserole-type dish is prefect thing to serve with spaghetti, lasagna, or to eat all by itself with a side of pizza sauce. The crunchy, seasoned bread supplemented with soft mozzarella cheese is perfect in all ways.
I made this recipe up for lunch with some leftovers I had on hand. I used Wal-Mart sub buns for my bread, but feel free to substitute French bread or other white bread if you don't have these buns on hand.
 
I used nine Wal-Mart sub buns (approx. 4x2 each)
 
Butter your buns, and sprinkle them with garlic salt. 
 
Cut your buns into cubes; you should get about sixteen cubes out of each full bun by putting two halves together and cutting them in half and then into quarters.
 
Place the bread cubes in a large bowl and toss the cubes and the cheese together. Dump the bowl's contents into the pan and spread the cubes evenly.
 
Cover the pan with albumin foil and place the pan in the oven for ten minutes. Remove the foil and baking for another five minutes, or until the top is getting golden brown.
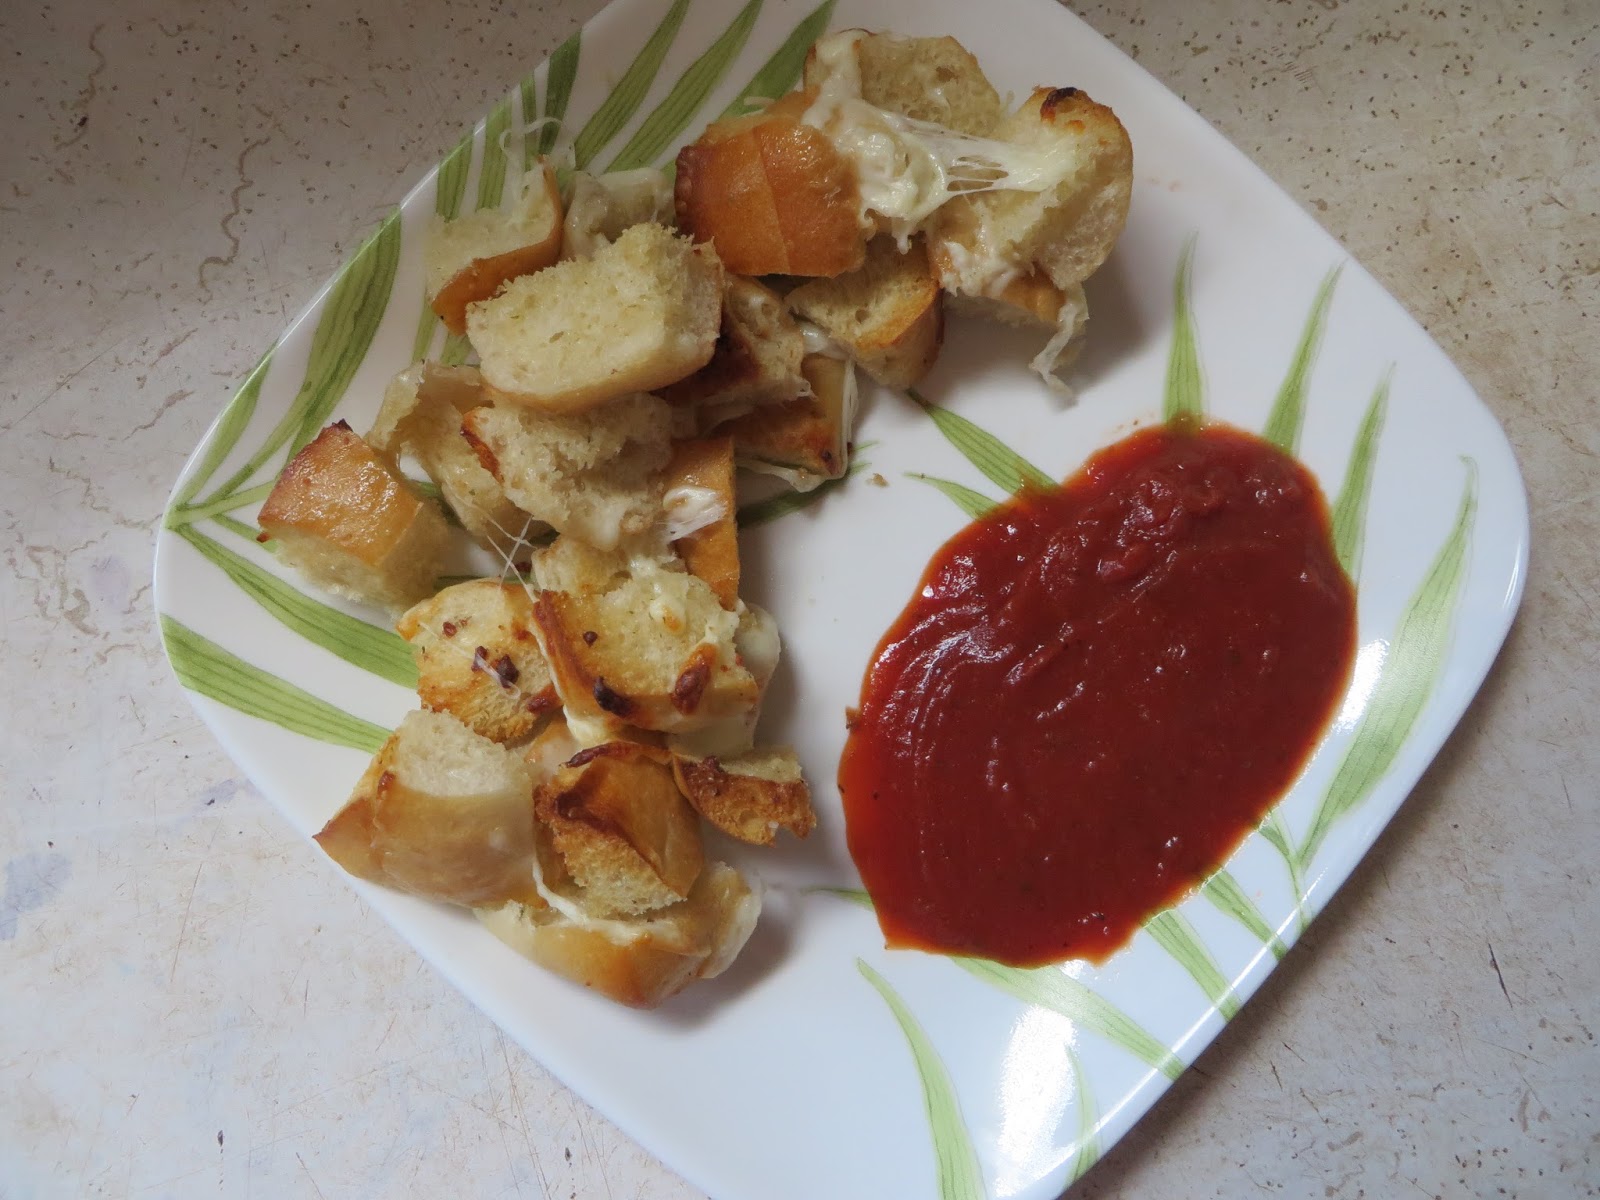
 
Serve hot with a dish of heated pizza sauce.
 
Yields 8 servings
Ingredients:
9 Wal-Mart sub buns (approx. 4x2 each)
Softened butter
Garlic Salt
3 1/2 C. grated mozzarella cheese
 
Preheat your oven to 450 degrees and grease a 9x13 pan. Set aside.
 
Butter your buns, and sprinkle them with garlic salt. Cut your buns into cubes; you should get about sixteen cubes out of each full bun by putting two halves together and cutting them in half and then into quarters. Place the bread cubes in a large bowl and toss the cubes and the cheese together. Dump the bowl's contents into the pan and spread the cubes evenly.
 
Cover the pan with albumin foil and place the pan in the oven for ten minutes. Remove the foil and baking for another five minutes, or until the top is golden brown. Serve hot with a dish of heated pizza sauce.


Saturday, June 13, 2015

Fried Dill Pickles

I found out recently that it is a unique American trait to love pickles; therefore, it wasn't super surprising when I started finding recipes for fried pickles. Never heard of fried pickles before? Don't feel bad; I didn't until recently, but they're pretty popular and very good!
I wanted to try making fried pickles, but I couldn't really find a recipe that I liked. I went through a few recipes and picked a few elements from them, combining into my own creation. I hope you enjoy these Fried Dill Pickles!!!
 
Mix together the flour, garlic powder, paprika, salt, black pepper, and milk in a bowl to make your batter.
 
Dip a pickle slice into the batter,
 
Coat the pickle with crumbs
 
Put the pickle into the oil. The pickle should become golden brown within 30 seconds to a minute


Yields 10 servings
Ingredients:
 
3 C. sliced sandwich dill pickles
1 1/4 C. Italian bread crumbs
1 C. milk
1 C. flour
1 t. garlic powder
1 t. paprika
1 t. salt
1/2 t. black pepper
3 C. vegetable oil (for frying; this is the amount I used; amount may vary depending on the size of your pot/fryer)
 
Preheat your oven to 170 degrees.
 
Heat your oil on the stove top or in a fryer to about 375 degrees. If heating your oil on the stovetop, set the pot on medium-high heat. This process doesn't take long, so keep an eye on it.
 
Drain your pickles and mix together the flour, garlic powder, paprika, salt, black pepper, and milk in a bowl to make your batter. Place the drained pickles in one bowl and the Italian bread crumbs in another.
 
To test the oil, dip a single pickle slice into the batter, coat it with bread crumbs, and put it into the oil. If the pickle becomes golden brown within 30 seconds to a minute, the oil is ready to use.
 
To make the fried pickles, drop about five or six pickle slices into the batter. Coat them well, and make sure to shake any extra batter from them before moving them to the crumb bowl. Cover the pickles with crumbs, and then drop them carefully into the hot oil. The pickles won't take long, only about 30-40 seconds to a minute, so make sure to watch them.
 
When the pickles have reached a nice and crispy golden brown, take them out of the pot and put them on an absorbent towel to soak up a little of the extra oil before sticking them into the oven to keep warm.
 
Continue the steps above until you have finished frying all your pickles. These are best served warm. Feel free to eat these as they are or with ranch dressing. 

Saturday, June 6, 2015

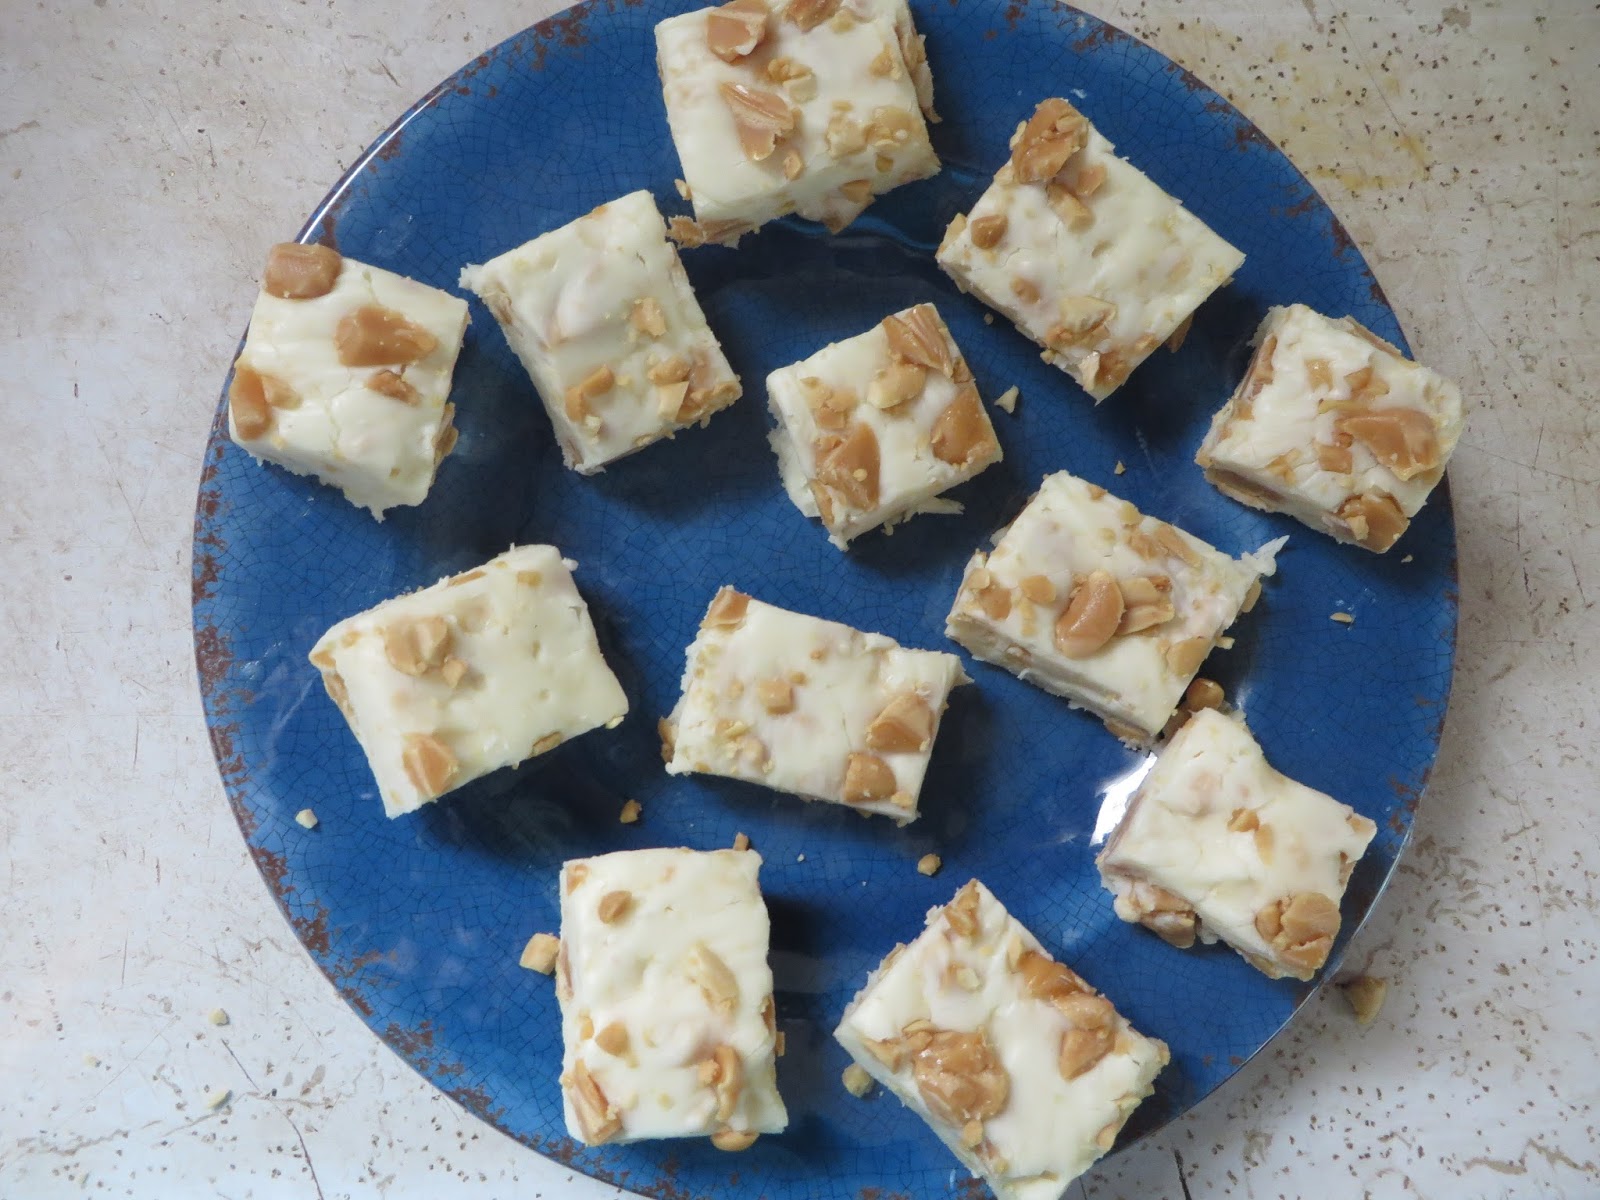
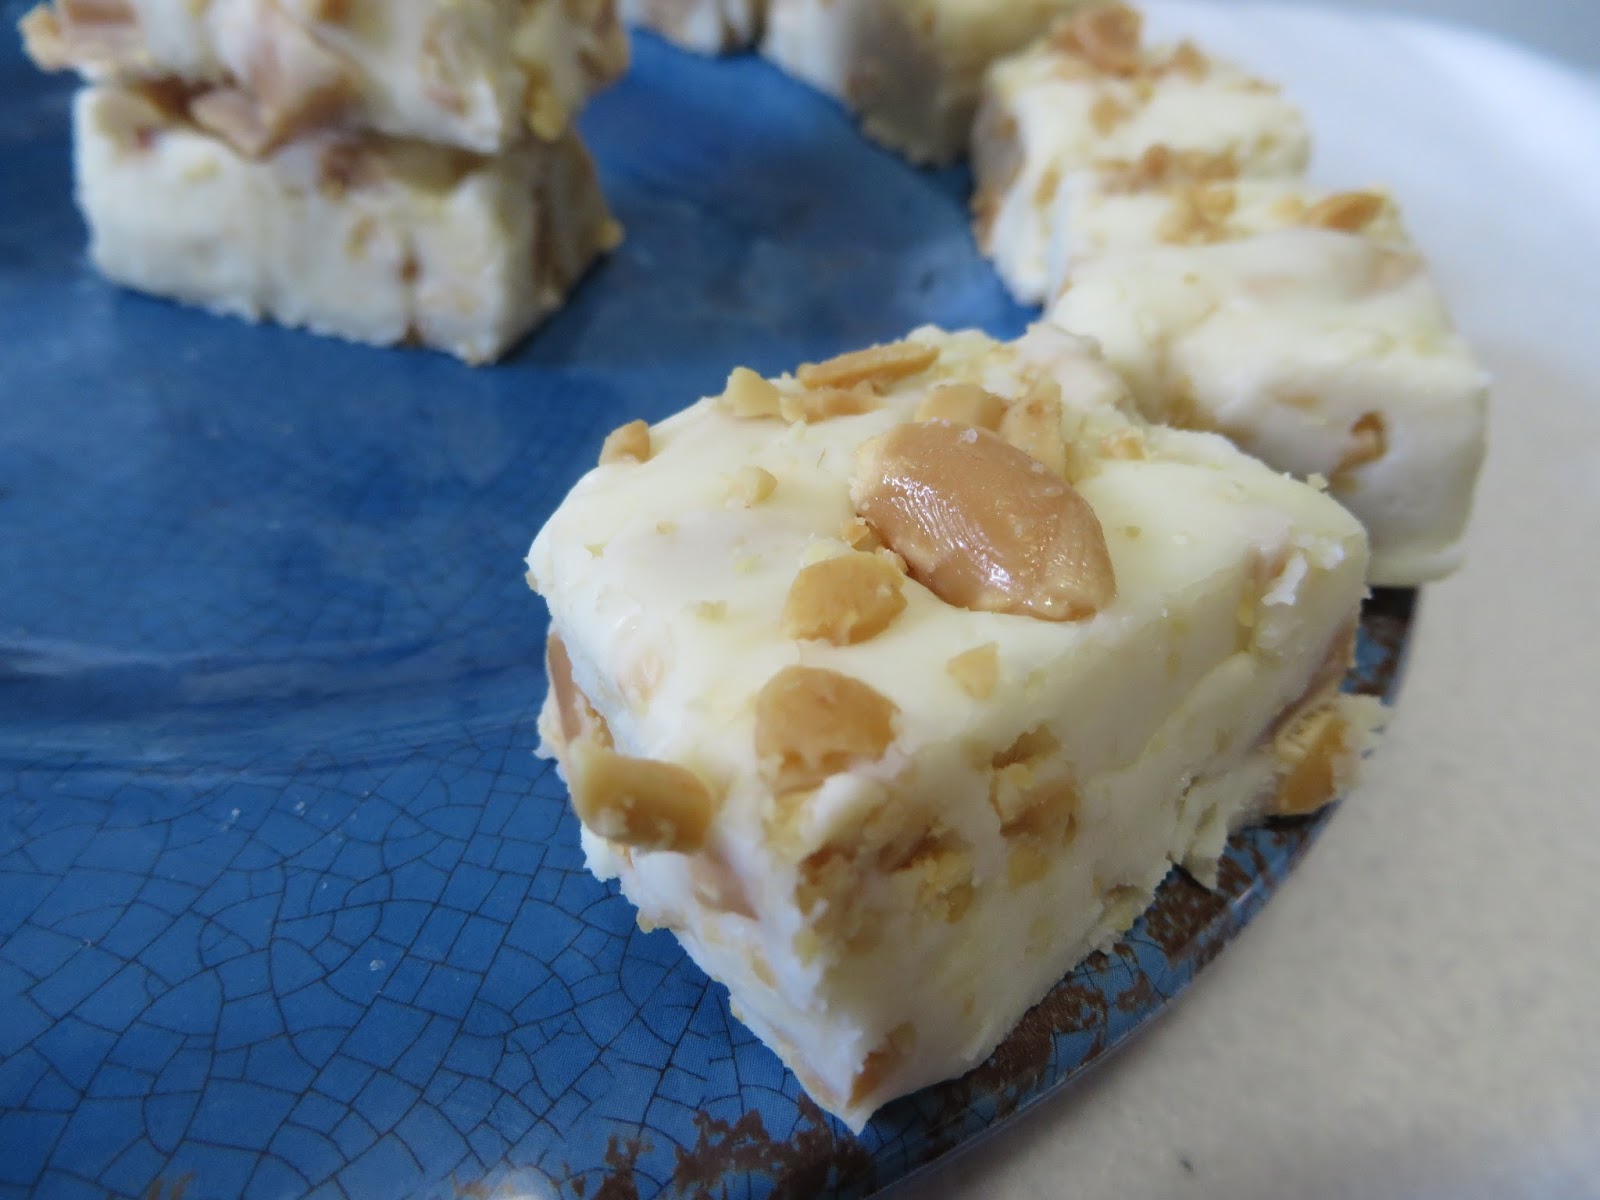
Caramel Peanut Fudge

I love fudge; it's one of the first things that I ever made as a kid, and I still enjoy making it today. Fudge is delicious, creamy, and rich, and it's very versatile. You can make mint chocolate fudge, cookies and cream fudge, butterscotch fudge, and so on. My variation on fudge, Caramel Peanut Fudge, is scrumptious and looks quite impressive. No one will know that it took you just a little time to throw it together!
 
Combine the chocolate chips, sweetened condensed milk, and peanuts in an oven-safe bowl. Mix the ingredients together and place the bowl in the oven to melt. Keep a close eye on it, mixing it every few minutes until all the chocolate is melted. This process will take about 5-10 minutes.

Meanwhile, chop a few extra peanuts for a garnish, and cut up your caramel. I used Kraft Caramels, and I cut each caramel square into quarters. Cut up three extra caramels especially fine for a garnish.

Once the chocolate has melted, toss in the vanilla, butter, and chopped caramel. Mix the ingredients together, and stick the bowl back into the oven for about thirty seconds.

Retrieve the bowl from the oven and move the contents into the prepared pan with a spatula. Sprinkle the extra chopped peanuts and caramels on top, and then stick the pan into the fridge. Let the fudge sit at least one hour before serving it.


Yields 10-12 servings
Ingredients:
1 C. sweetened condensed milk
1 12 oz. bag white chocolate chips
1/2 t. vanilla
1/2 butter
1/2 C. chopped peanuts, plus a little more for garnish
1/2 C. chopped caramel, plus a little more for garnish
 
Preheat your oven to 300 degrees and line an 8x8 pan with parchment paper.
 
Combine the chocolate chips, sweetened condensed milk, and the peanuts in an oven-safe bowl. Mix the ingredients together and place the bowl in the oven to melt. Keep a close eye on it, mixing it every few minutes until all the chocolate is melted. This process will take about 5-10 minutes.
 
Meanwhile, chop a few extra peanuts for a garnish, and cut up your caramel. I used Kraft Caramels, and I cut each caramel square into quarters. Cut up three extra caramels especially fine for a garnish.
 
Once the chocolate has melted, toss in the vanilla, butter, and chopped caramel. Mix the ingredients together, and stick the bowl back into the oven for about thirty seconds. Retrieve the bowl from the oven and move the contents into the prepared pan with a spatula. Sprinkle the extra chopped peanuts and caramels on top, and then stick the pan into the fridge. Let the fudge sit at least one hour before serving it.


Wednesday, June 3, 2015

Andrew's Pebble Bars

I was out of ideas for recipes, so I asked one of my little brothers, Andrew, if he had any ideas for me. He promptly said that I should make rice crispy treats with Fruit Pebbles. The idea grabbed me, and I spent a day or so creating the recipe in my head. It didn't take long to put together, and after one failed effort, I made Andrew's Pebble Bars. They were a great success! I have many younger siblings, and they all loved them. My bars were requested twice for birthday desserts, and I was asked to make them again. Too bad I didn't have more marshmallows!
 
Put a pot on the stovetop on low heat. Add the butter.


Once the butter has melted, add the marshmallows and stir continually until they have melted completely, about 3-5 minutes.
 
Take the pot off of the heat, and immediately incorporate the Fruity Rice. Give the pot a two or three quick stirs, combining the ingredients, and dump the pot's contents into the greased pan. Spread the cereal, using a buttered spatula or clean, buttered hands. Work quickly, because the mixture will begin to firm up almost at once.
 
Reusing the pot that you have just used, it on the stovetop on low heat. Add the butter. Once it has melted, add the marshmallows and stir continually until they have melted completely, about 3-5 minutes.
 
 Take the pot off of the heat, and immediately incorporate the Crispy Rice and Fruity Rice. Give the pot a two or three quick stirs, combining the ingredients.
 
Dump the pot's contents into the greased pan. Quickly spread the cereal, using a buttered spatula or clean, buttered hands. Work quickly, because the mixture will begin to firm up almost at once.
 
 
Yields 12 servings 
 
Ingredients:
 
First Layer
3 C. Millville Fruity Rice
5 oz. regular marshmallows (half of a regular sized bag)
1 T. butter
 
Second Layer
2 3/4 C. Millville Crispy Rice
5 oz. regular marshmallows
1 T. butter
 
Grease a 9x13 pan and set aside.
 
Layer 1:
Put a pot on the stovetop on low heat. Add the butter. Once it has melted, add the marshmallows and stir continually until they have melted completely, about 3-5 minutes. Take the pot off of the heat, and immediately incorporate the Fruity Rice. Give the pot a two or three quick stirs, combining the ingredients, and dump the pot's contents into the greased pan. Spread the cereal, using a buttered spatula or clean, buttered hands. Work quickly, because the mixture will begin to firm up almost at once.
 
Layer 2:
Reusing the pot that you have just used, it on the stovetop on low heat. Add the butter. Once it has melted, add the marshmallows and stir continually until they have melted completely, about 3-5 minutes. Take the pot off of the heat, and immediately incorporate the Crispy Rice and Fruity Rice. Give the pot a two or three quick stirs, combining the ingredients, and dump the pot's contents on top of the first layer. Spread the cereal, using a buttered spatula or clean, buttered hands. Work quickly, because the mixture will begin to firm up almost at once.

Monday, June 1, 2015

Homemade Garlic Croutons

As you may have noticed, I love garlic!!! It's one of my favorite flavorings (along with onions) for breads, dips, and snacks. For this crouton recipe, I'm using garlic infused olive oil and whole wheat bread in hopes of making a crouton that is a little more healthy that the ones you can buy at the store. These croutons are delicious and can be eaten with soups, salads, or by themselves. However you eat them, I'm sure you'll enjoy these croutons just as much as I do!

Combine the extra virgin olive oil, salted butter, crushed garlic cloves, and dried parsley in a small pot on the stove top at a medium heat. Keep the mixture on the heat until the butter has melted and the oil has started to bubble gently, about 2-3 minutes. Take the olive mixture off of the heat, and let the crushed garlic infuse the liquids for at least ten minutes before using.
 
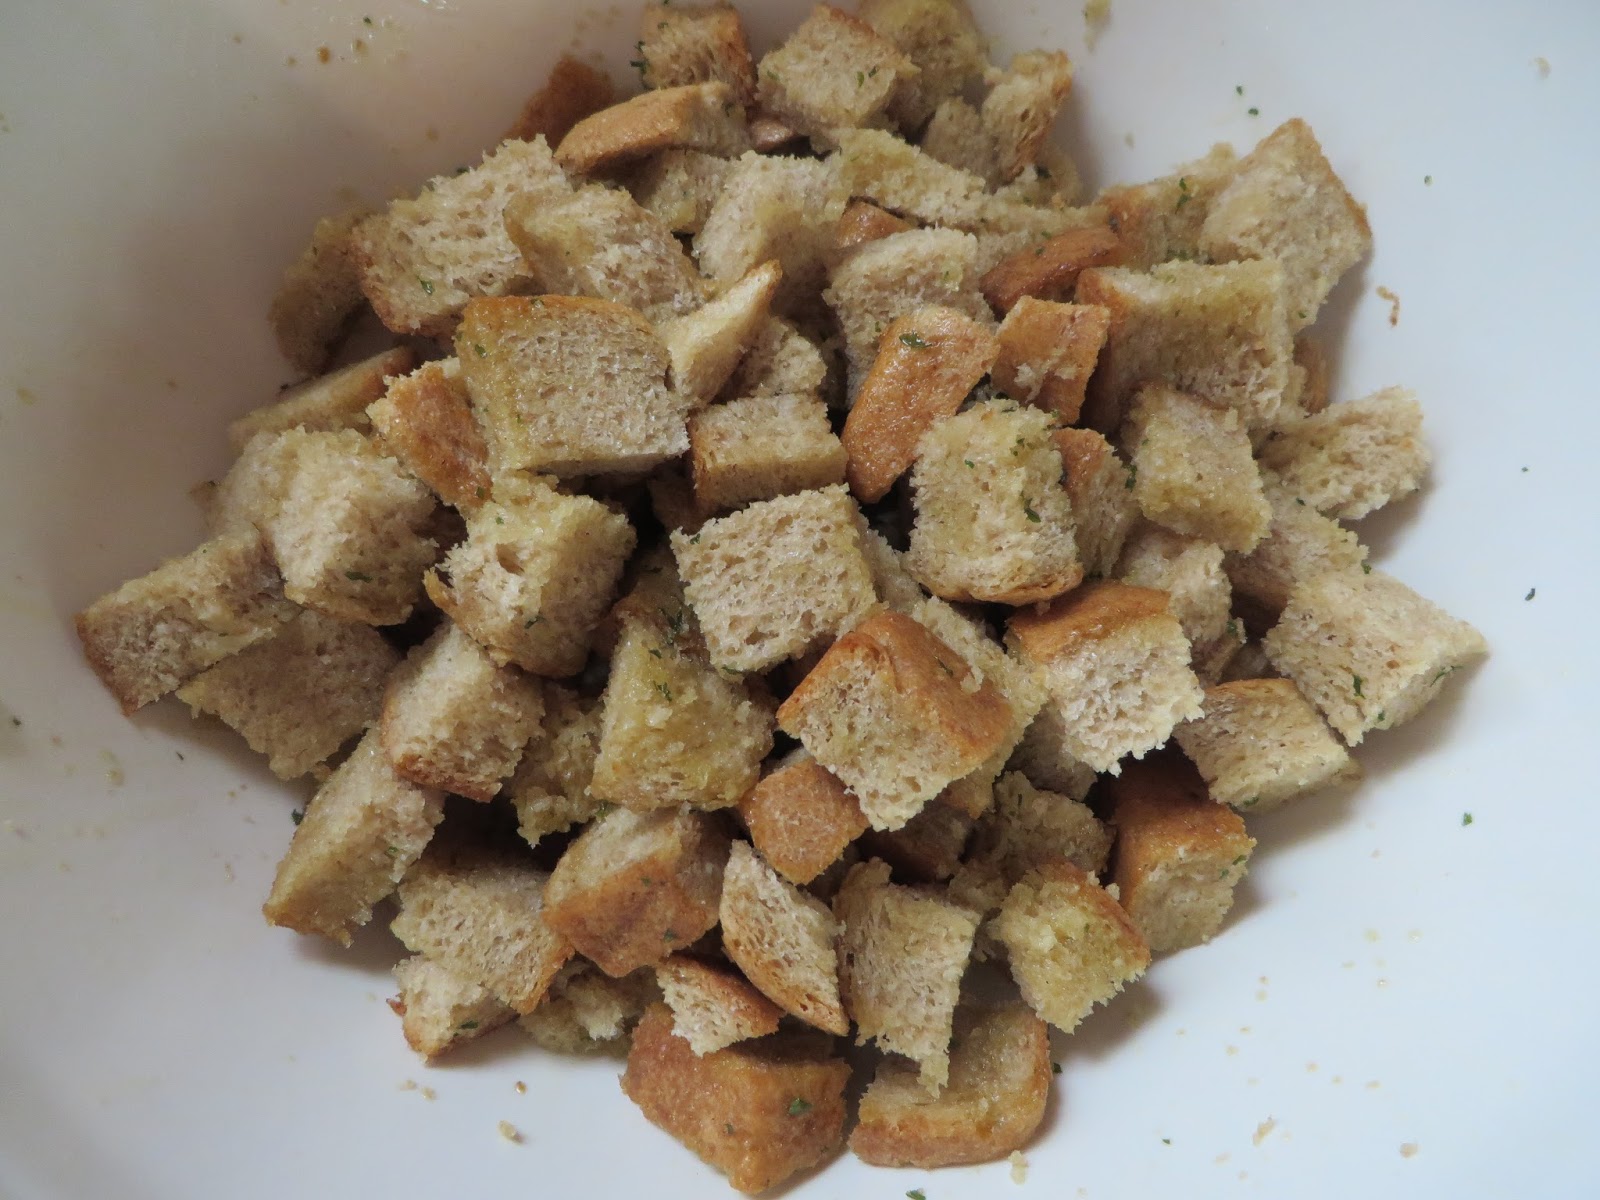
While you are waiting for the oil, cut up your bread into cubes and put them into a bowl. 

 When then oil is ready, drizzle it over the bread cubes and toss them, coating them well with garlic oil.

Lay them out in a single layer on a parchment covered baking sheet, and stick the bread into the oven for ten minutes.

 When the time is up, take them out of the oven, flip them, and stick the baking sheet back into the oven for fifteen minutes.


Yields about 5-6 cups
Ingredients:
1/4 C. extra virgin olive oil
1 T. salted butter
3 garlic cloves, crushed
1/2 t. parsley, dried
6 C. whole wheat bread cubes
 
Preheat your oven to 350 degrees
 
Combine the extra virgin olive oil, salted butter, crushed garlic cloves, and dried parsley in a small pot on the stove top at a medium heat. Keep the mixture on the heat until the butter has melted and the oil has started to bubble gently, about 2-3 minutes. Take the olive mixture off of the heat, and let the crushed garlic infuse the liquids for at least ten minutes before using.
 
While you are waiting for the oil, cut up your bread into cubes and put them into a bowl. When then oil is ready, drizzle it over the bread cubes and toss them, coating them well with garlic oil. Lay them out in a single layer on a parchment covered baking sheet, and stick the bread into the oven for ten minutes. When the time is up, take them out of the oven, flip them, and stick the baking sheet back into the oven for fifteen minutes.
 
When your croutons have finished baking, let them cool a little before using them. Once they have cooled completely, store them in an airtight plastic bag or container until you're ready to use them.
 

Monday, May 25, 2015

Garlic Pita Bread Chips

Years ago, I remember my mom making pita bread chips to go with our supper. I've never had them since then, but I still remember really liking them. It occurred to me about a week ago that I could make some pita chips of my own, and so I began to assemble my ingredients.
I wanted to make my pita chips somewhat healthy, so I used whole wheat pita bread, and I got my garlic flavoring by infusing my extra virgin olive oil, instead of using garlic salt. You just need to grab two or three of these yummy pita chips and you'll have the perfect snack!
 
Put the extra virgin olive oil into a small pot, along with the parsley and salt. Turn your stovetop burner to a medium heat. Once you have crushed the cloves, take off the skins and drop them into the olive oil.

Leave the oil on the stovetop for about three to four minutes, or until the oil starts to simmer. Once the oil is bubbling, take it off the heat and let it sit for at least ten minutes before using it.

While you are waiting for your oil to infuse, take your pita bread and cut each round flatbread into eight pieces. You'll be making little triangles, and you should have thirty-two triangles when you're finished.

Lay them out on a parchment covered cooking sheet.


When your oil has sat for the appropriate amount of time, take a kitchen brush and lightly brush the pita bread on their tops.

Stick the pan in the oven for ten minutes, and then take it out and flip the pita bread. Brush the second side with oil, and put the pan back into the oven for another ten minutes.


Yields 8 servings
Ingredients:
Four whole wheat pita breads (or eight pita pockets)
3/4 C. extra virgin olive oil
4 garlic cloves
1 t. dried parsley
A pinch or two of salt
 
Preheat your oven to 350 degrees.
 
Put the extra virgin olive oil into a small pot, along with the parsley and salt. Turn your stovetop burner to a medium heat. Take your garlic cloves, leaving the skins on, and crush them. You can do this by pounding them once or twice firmly with the bottom of a pot or pan, or by using the flat of a large kitchen knife. Once you have crushed the cloves, take off the skins and drop them into the olive oil. Leave the oil on the stove top for about three to four minutes, or until the oils starts to simmer. Once the oil is bubbling, take it off the heat and let it sit for at least ten minutes before using it.
 
While you are waiting for your oil to infuse, take your pita bread and cut each round flatbread into eight pieces-in half, in quarters, and then into eighths. You'll be making little triangles, and you should have thirty-two triangles when you're finished. Lay them out on a parchment covered cooking sheet.
 
When your oil has sat for the appropriate amount of time, take a kitchen brush and lightly brush the pita bread on their tops. Stick the pan in the oven for ten minutes, and then take it out and flip the pita bread. Brush the second side with oil, and put the pan back into the oven for another ten minutes.
 
After your pita chips have cooled, arrange them nicely on a pretty plate and put the remaining olive oil into a little bowl for dipping. If you're going for a super healthy snack, I wouldn't recommend dipping your pita chips, but it sure adds a lot of flavor!


Thursday, May 21, 2015

Chocolate Mint Cheesecake

I love cheesecake!!! I've tried many kinds of cheesecake (chocolate, caramel, vanilla) but I've never in my entire life had a chocolate mint cheesecake. I had a vision in my head of a perfect, cool, mint green cheesecake that would have the perfect blend of chocolate graham cracker crust and sweet, minty cream cheese filling. I set out to make such a cheesecake. Unfortunately, I didn't give my cream cheese enough time to sit on the counter, and my batter ended up a little lumpy, but it tasted terrific!
 
Cut the cream cheese (make sure that your cream cheese has been sitting on the counter for at least an hour before you start) into small blocks and put them in a large bowl.
 
Add the sugar. Using an electric mixer, combine the ingredients until they are perfectly blended. (Don't beat the cream cheese and sugar for any more time than necessary, as overbeating can incorporate air into your batter and cause the cheesecake to crack while baking.)
 
Add in the eggs and the mint extract and blend them into the cream cheese mixture.
 
 
Once the eggs and mint extract have been combined into the batter, stick the prong of a fork into Wilton's Kelly Green food coloring and add it to the batter. 
 
Don't be overzealous: a little of the food coloring will go a VERY long way! Give the batter a quick whirl after every administration of food coloring, but don't beat it too much. Continue to add the coloring until you have reached a mint green that satisfies you; I added the coloring at least four times before I got the color that I wanted.
 
When you have finished coloring your cheesecake batter, pour it into your pie crust and stick it in the oven for 35 to 40 minutes.
 
Cut yourself a nice slice, add a nice dollop of whipped cream, and top it off with hot fudge!
 
Yields 8 servings
Ingredients:
1 9 in. chocolate graham cracker pie crust
16 oz. cream cheese
1/2 C. sugar
2 eggs
3/4 t. mint extract
Wilton's Kelly Green food coloring
 
Preheat your oven to 350 degrees.

Cut the cream cheese (make sure that your cream cheese has been sitting on the counter for at least an hour before you start) into small blocks and put them in a large bowl. Add the sugar. Using an electric mixer, combine the ingredients until they are perfectly blended. (Don't beat the cream cheese and sugar for any more time than necessary, as overbeating can incorporate air into your batter and cause the cheesecake to crack while baking.) Add in the eggs and the mint extract and blend them into the cream cheese mixture.

Once the eggs and mint extract have been combined into the batter, stick the prong of a fork into Wilton's Kelly Green food coloring and add it to the batter. Don't be overzealous: a little of the food coloring will go a VERY long way! Give the batter a quick whirl after every administration of food coloring, but don't beat it too much. Continue to add the coloring until you have reached a mint green that satisfies you; I added the coloring at least four times before I got the color that I wanted.

When you have finished coloring your cheesecake batter, pour it into your pie crust and stick it in the oven for 35 to 40 minutes. Watch it towards the end to make sure your cheesecake doesn't get brown on top. After it has finished baking, let the cheesecake sit on a cooling rack for an hour or so before sticking it into the fridge. Your cheesecake should refridgerate for a few hours at the minimum, and I usually let my cheesecakes sit in the fridge overnight.

Finally, your chocolate mint cheesecake is finished! Cut yourself a nice slice, add a nice dollop of whipped cream, and top it off with hot fudge. Delicious!!!