Showing posts with label Tutorials. Show all posts

Thursday, February 25, 2016

How to Make Nondescript Buns Beautiful

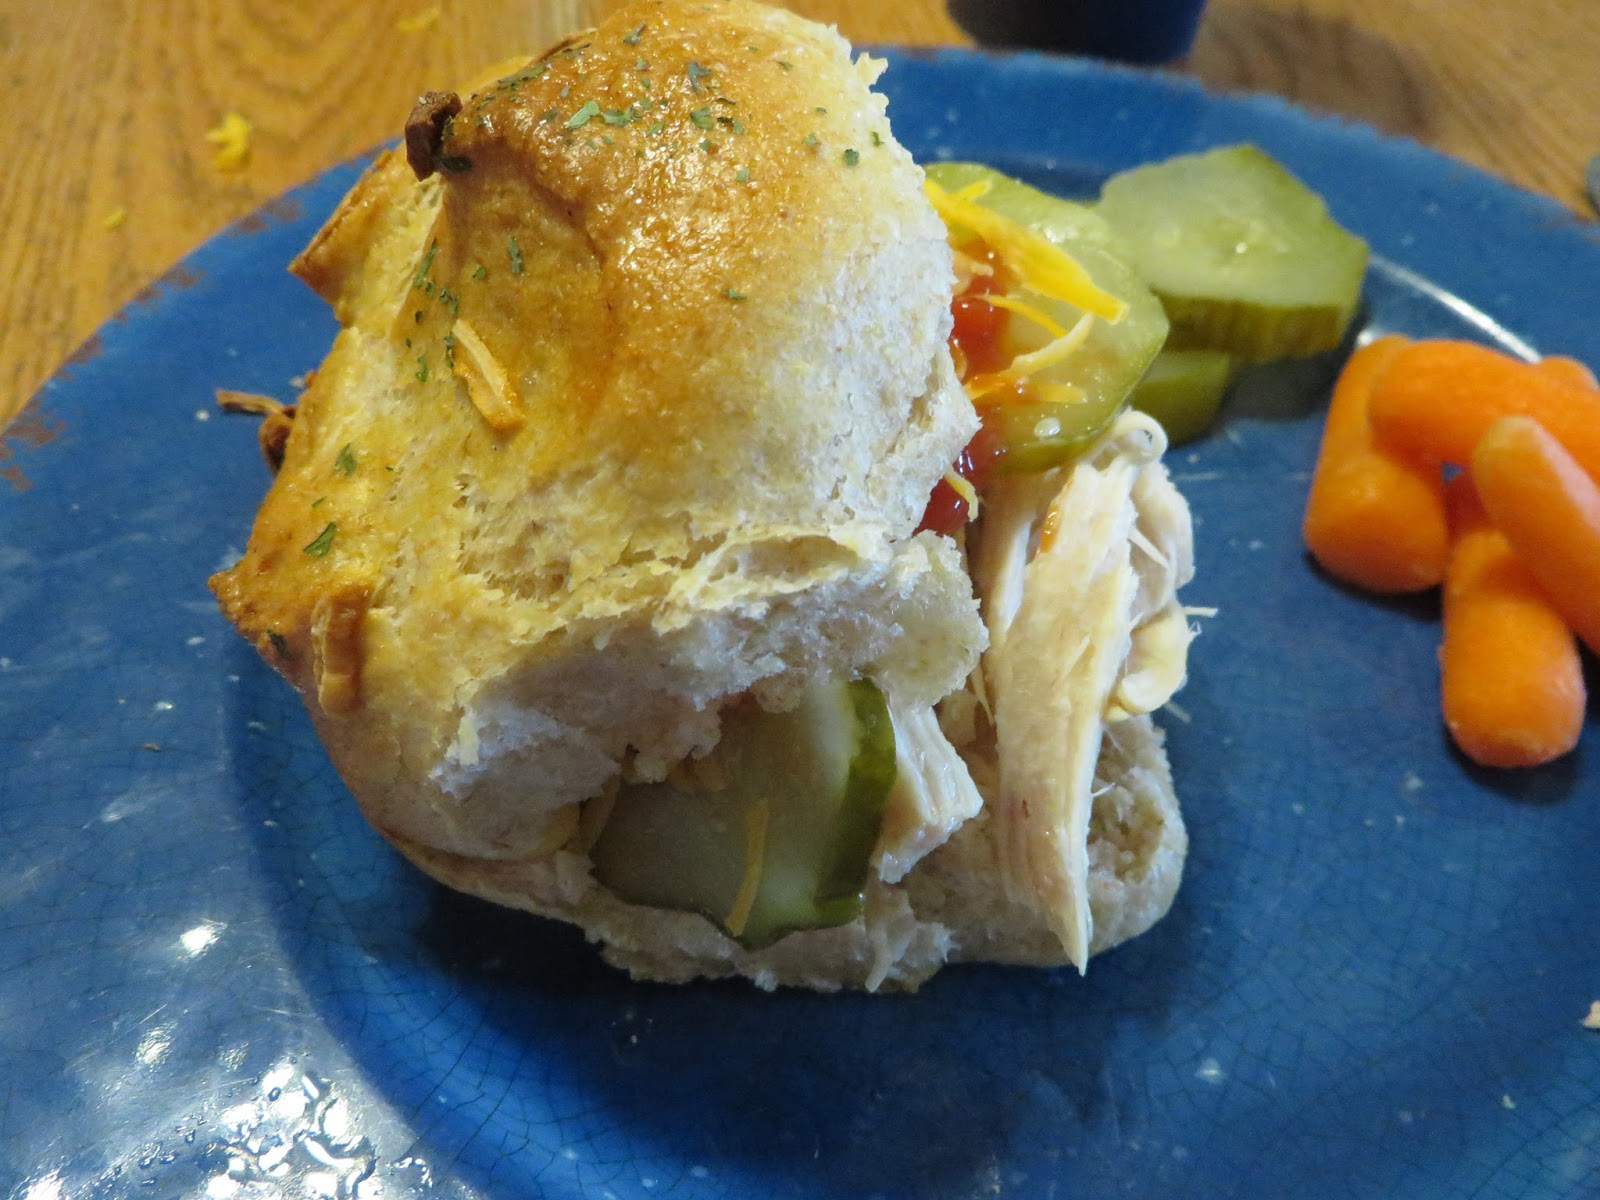
Have you ever looked at your sandwich buns and wished they looked a little nicer? Maybe you wanted a little more pop, a little more flash? Well, I'm here to tell you that I have a yummy tasting, beautiful solution for you!

Using my Uniform Bun Tutorial, shape your buns and arrange them on a greased or parchment-covered baking sheet. Proceed to slash X's on the tops of the buns with a serrated knife. As you can see, I didn't get many perfect X's, so don't worry if yours don't look perfect, either. They'll look fantastic when they've finished baking!
 
 Make a simply egg wash by cracking an egg in to a bowl, and filling one of the broken egg shells with water. Dump the water into the bowl and use a fork or a whisk to beat the two ingredients together.

Brush a light amount onto your buns with a pastry brush.

Sprinkle a few dried, chopped onions over your buns.

Add a little dried, chopped parsley to give a little color to the buns.
 
Pop your buns into the oven for the correct amount of time. Be aware of the fact that the egg wash may make your buns appear brown and finished before they are actually done baking. Please make sure your buns are baked all the way through before taking them out of the oven.

 
Ingrediants:
1 large egg
A half-shell of water (or a tablespoon)
Chopped, dried onions
Chopped, dried parsley
 
Using my Uniform Bun Tutorial, shape your buns and arrange them on a greased or parchment-covered baking sheet. Proceed to slash X's on the tops of the buns with a serrated knife.
 
Make a simply egg wash by cracking an egg in to a bowl, and filling one of the broken egg shells with water. Dump the water into the bowl and use a fork or a whisk to beat the two ingredients together. Brush a light amount onto your buns with a pastry brush. Sprinkle a few dried, chopped onions and a little dried, chopped parsley to give a little color, crunchy, and flavor to the buns.
 
Pop your buns into the oven for the correct amount of time. Be aware of the fact that the egg wash may make your buns appear brown and finished before they are actually done baking. Please make sure your buns are baked all the way through before taking them out of the oven.


Uniform Buns Tutorial

When I first making sandwich buns, I made them by rolling out my dough, cutting out circles, and then re-rolling my dough when my original piece of was full of holes. I did this up to four or five times, and the dough would get stiffer and stiffer each rolling. As a result of this technique, some of my buns rose better than the others, and depending how well I cut into the dough with the cutter determined how perfectly round each bun actually turned out.
For awhile I didn't think anything of my bun-making ways; it was just the way things were done, right? Wrong. It wasn't until I was watching a lecture series on baking by the Culinary Institute of America that I learned the constant rolling of dough builds up gluten, which makes the dough stiffer than wanted. Armed with this knowledge, I decided to try making my buns another way. That way had been photographed and laid out for you to read below, and I love this way of making buns!

Cut your dough into your desired amount of pieces (I usually make 22 buns). Take one of the small balls of dough in your hands and quickly fashion it into a flat circle of sorts. 


 Take the outer edges of the circle and fold them inwards, pinching them all together to make a nice round shape.

Flip the dough over, and you should have a wonderful, round bun in the palm of your hand. If you don't get it perfect the first time, just be patient; you'll catch on really soon! This technique is super easy to master!

Line up your buns on a tray and stick them in the oven to bake! It's that easy!

Instructions:
Cut your dough into your desired amount of pieces (I usually make 22 buns). Take one of the small balls of dough in your hands and quickly fashion it into a flat circle of sorts.  Take the outer edges of the circle and fold them inwards, pinching them all together to make a nice round shape. Flip the dough over, and you should have a wonderful, round bun in the palm of your hand. If you don't get it perfect the first time, just be patient; you'll catch on really soon! This technique is super easy to master! Line up your buns on a tray and stick them in the oven to bake! It's that easy!

If you're interested in ideas of how to make your buns pop after fashioning them, check out it out here!